
12 Hours of Patience, 12 Seconds of Pleasure: Clotted Cream
And British-style scones!
British scones are so good, I thought they deserved a mediocre poem.
British scones,
fluffy, sweet, and sky-high—
tender and effortlessly plain
or freckled with dried fruit.
Schmere of strawberry jam,
piled scandalously high with clotted cream.
Paired with a piping-hot cuppa,
simple, yet utterly scrumptious.
They ask for a gentle hand,
a tender coaxing for that perfect crumb.
No dough mischief allowed.
Brush on an egg wash—
careful, no drips—
then to quietly rest for a tick.
A second glaze for shine,
a secret consensual touch.
Into the oven they go,
the final rite
before we stuff our sweet faces.
Take a seat before the oven door—
the rise is enchanting,
and shhhhhhh
our show is starting.
British scones are pure poetry. Back to reality America.
American scones are denser than the British style, made with more butter and sugar (that tracks). They are not reliant on toppings and are meant to be eaten as they are. Add-ins can be as wild as chocolate, nuts, berries, pumpkin, spices, or butterscotch. Topped with a simple glaze, a drizzle of chocolate, or sugary icing. American scones have a lot going on (which also tracks). American scones are most often cut into triangles, but a circle will appear now and again. I do prefer the triangle cut, not because I like sharp edges, but because there is no wasted dough. I hate waste.
While their names may be the same, the final product is very different, not bad, but different. I am thoroughly invested in the traditional creamed tea that I enjoyed in the UK. A creamed tea is tea served with scones, clotted cream, and jam. Best enjoyed after a countryside ramble or a romp in a castle.
Who’s up for a creamed tea?!
First we scone (UK style)
The recipe for scones is pretty simple; it’s all about the technique. Remember, soft, gentle hand and tender touch. (Can I call myself a poet now??)
Start with very cold butter.
Cut your butter into small chunks and then put them into the fridge to get cold. If you forget to do this in advance, you can pop the butter into the freezer for 30 minutes or as long as your patience allows.
We are going to mix our butter into the flour until the texture feels like sand. This technique is called cutting in the butter. Smear the cold butter into the flour and baking powder until every bit of flour has made contact with the butter. You should not see ANY large chunks of butter in your mixture. I use my fingers so I know exactly when to hold ‘em and when to fold ‘em, AKA when it’s done. If the butter gets too melty, the scones will not rise properly, and your heart might break (momentarily).
Work quickly and diligently at this stage. If you feel the butter getting too warm, pop the whole bowl back into the fridge for 5 minutes. You will know it’s done when the texture of the flour and butter resembles wet sand.
In a separate bowl, add the egg, milk, and sugar and mix until well combined. Pour a little at a time into the flour and butter situation and GENTLY combine, keep adding the liquid until the dough starts to come together.
The dough should be loose, soft and a bit sticky.
If your dough ball is feeling a bit dry, add a splash more milk. If your dough is too sticky, add a bit more flour. We are going to knead the dough JUST until it comes together. Seriously, this is not the time to be aggressive. Easy does it, we are going for light and fluffy, not hard and dense.
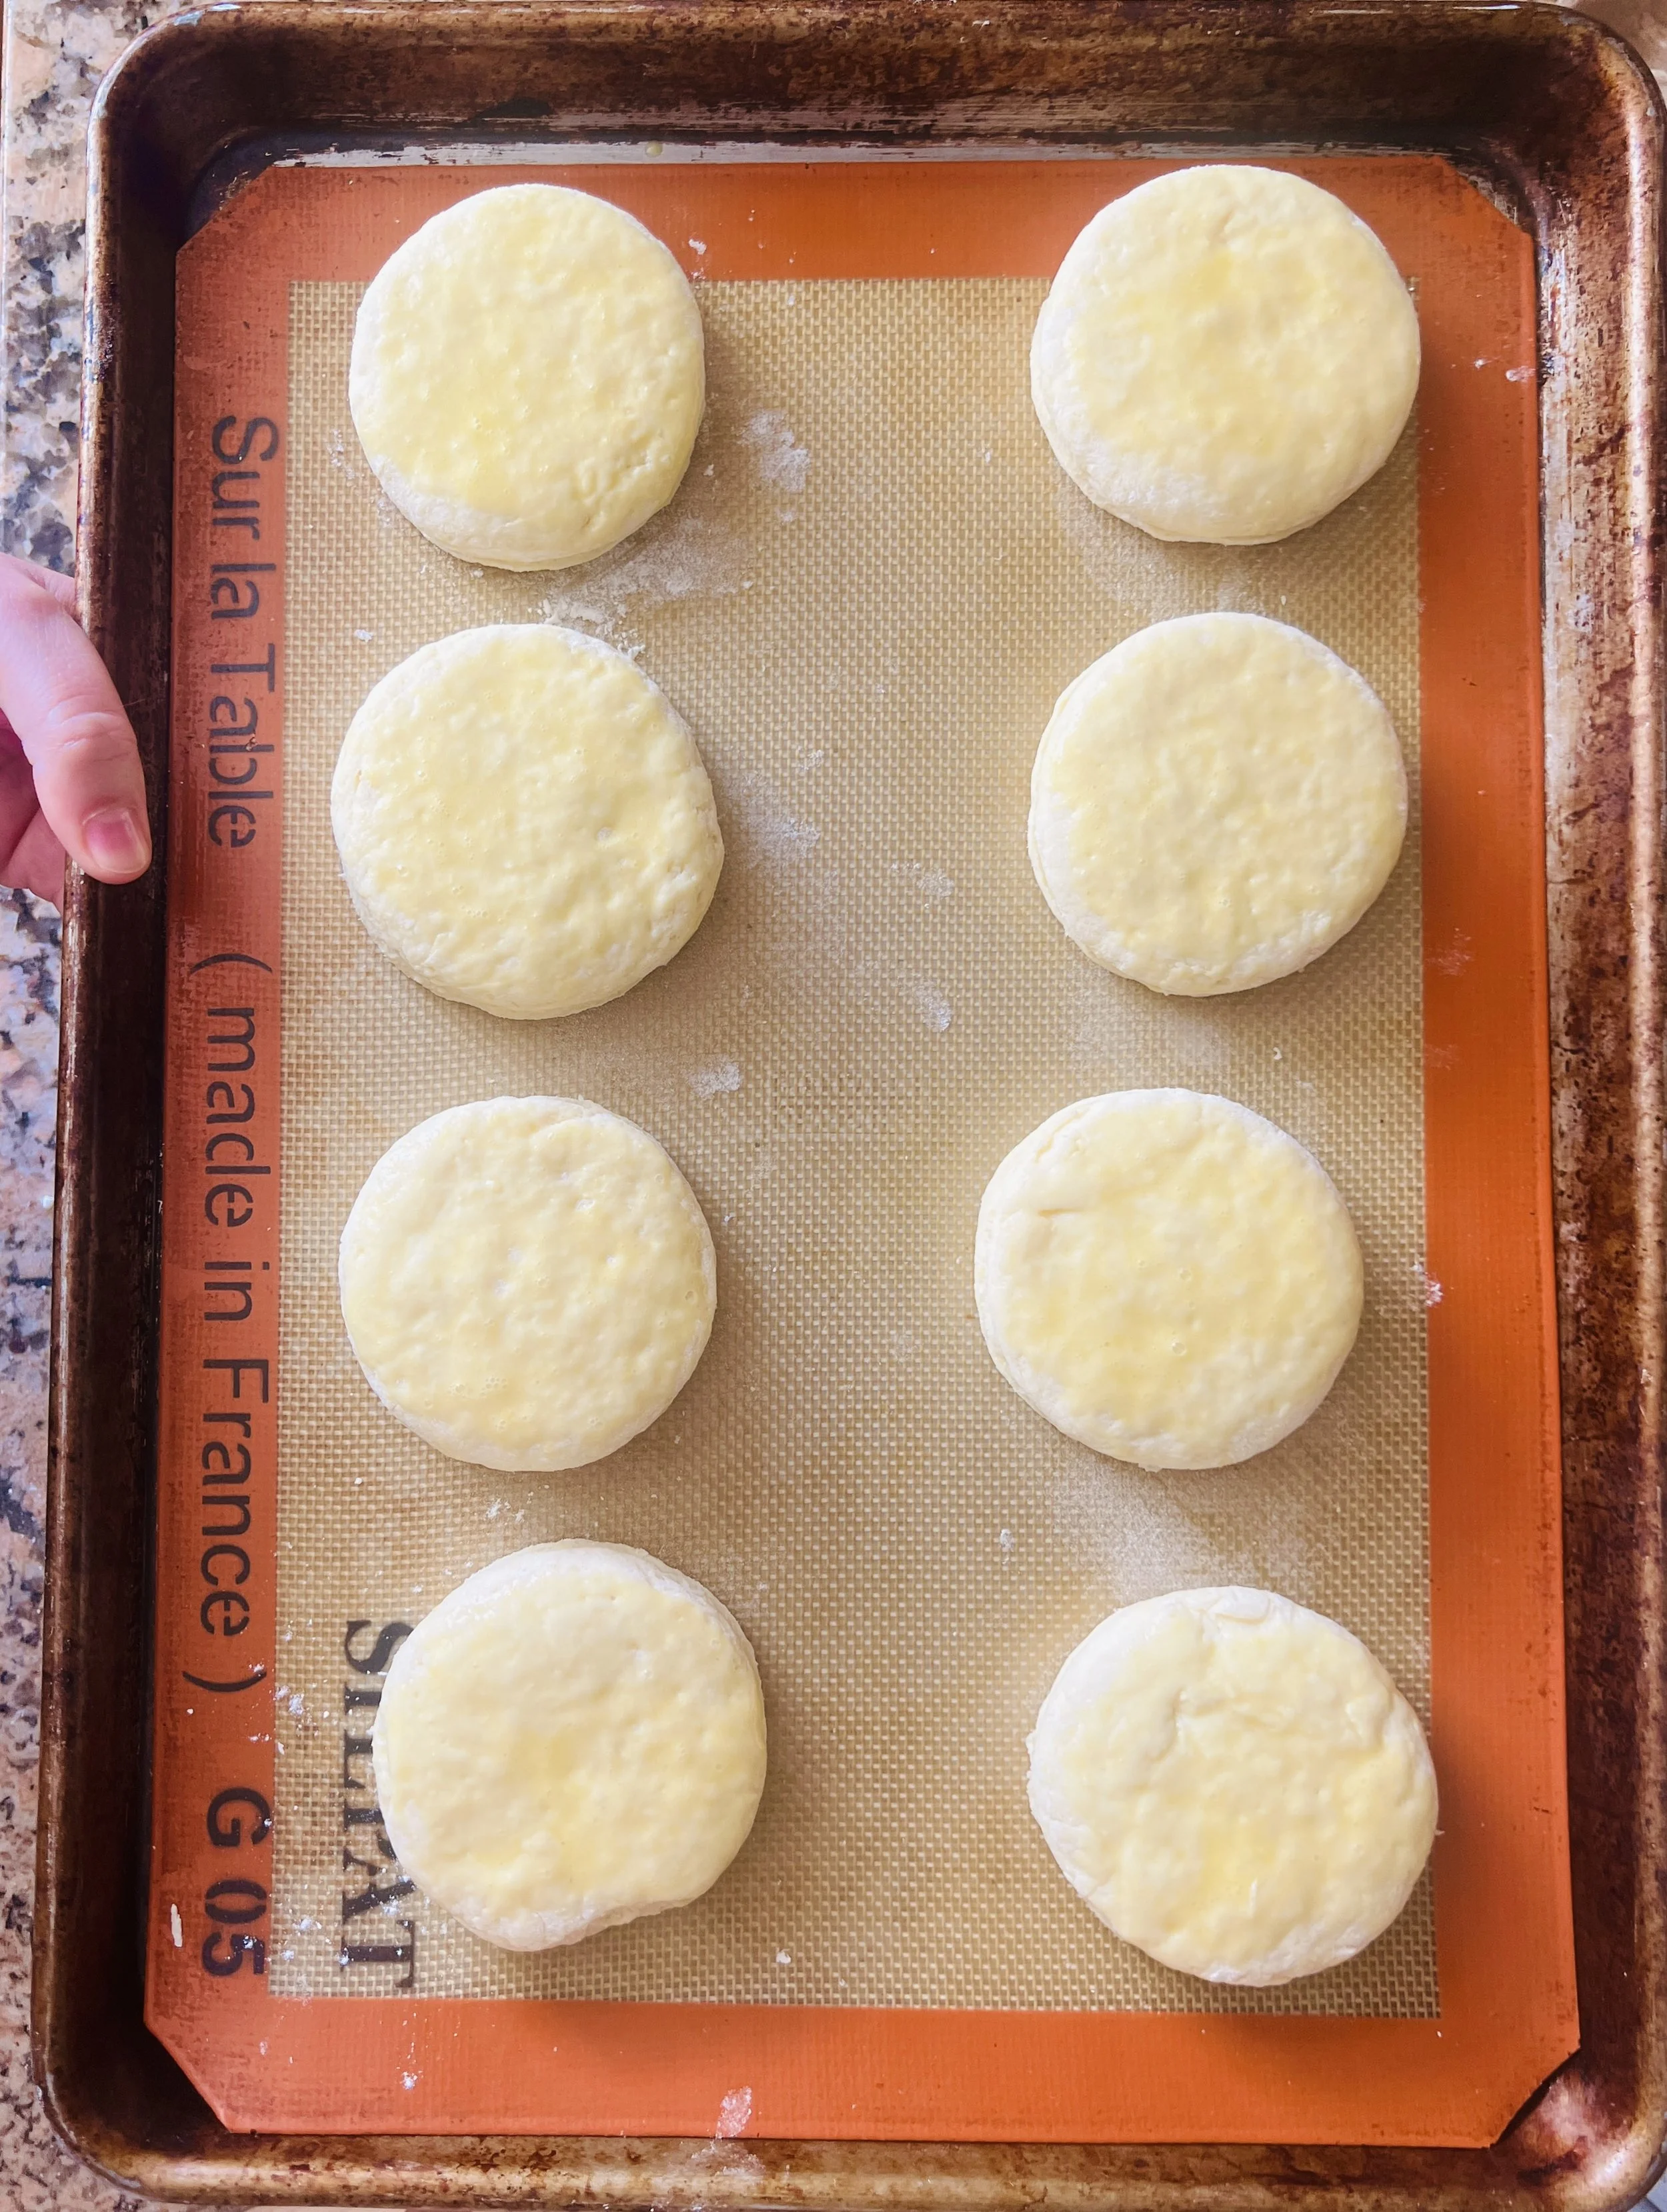
Roll the dough out to about an inch thick.
Using a circle cookie cutter three inches in diameter, let’s cut out our scones! Smaller scones would be cute too. I like the idea of popping one into my mouth.
Press down on the cutter firmly, DO NOT TWIST. Press straight down, then pull straight up. A clean cut will help the scones RISE. Which is the whole point of this operation.
Double-glaze the scones with egg wash.
It’s all about that double glaze, y’all. We want a scone so shiny we can see our faces in it. Let the scones take a little nap in the fridge, and then into the oven they go. 15 minutes should do it, my friends. Look for a nice brown top.
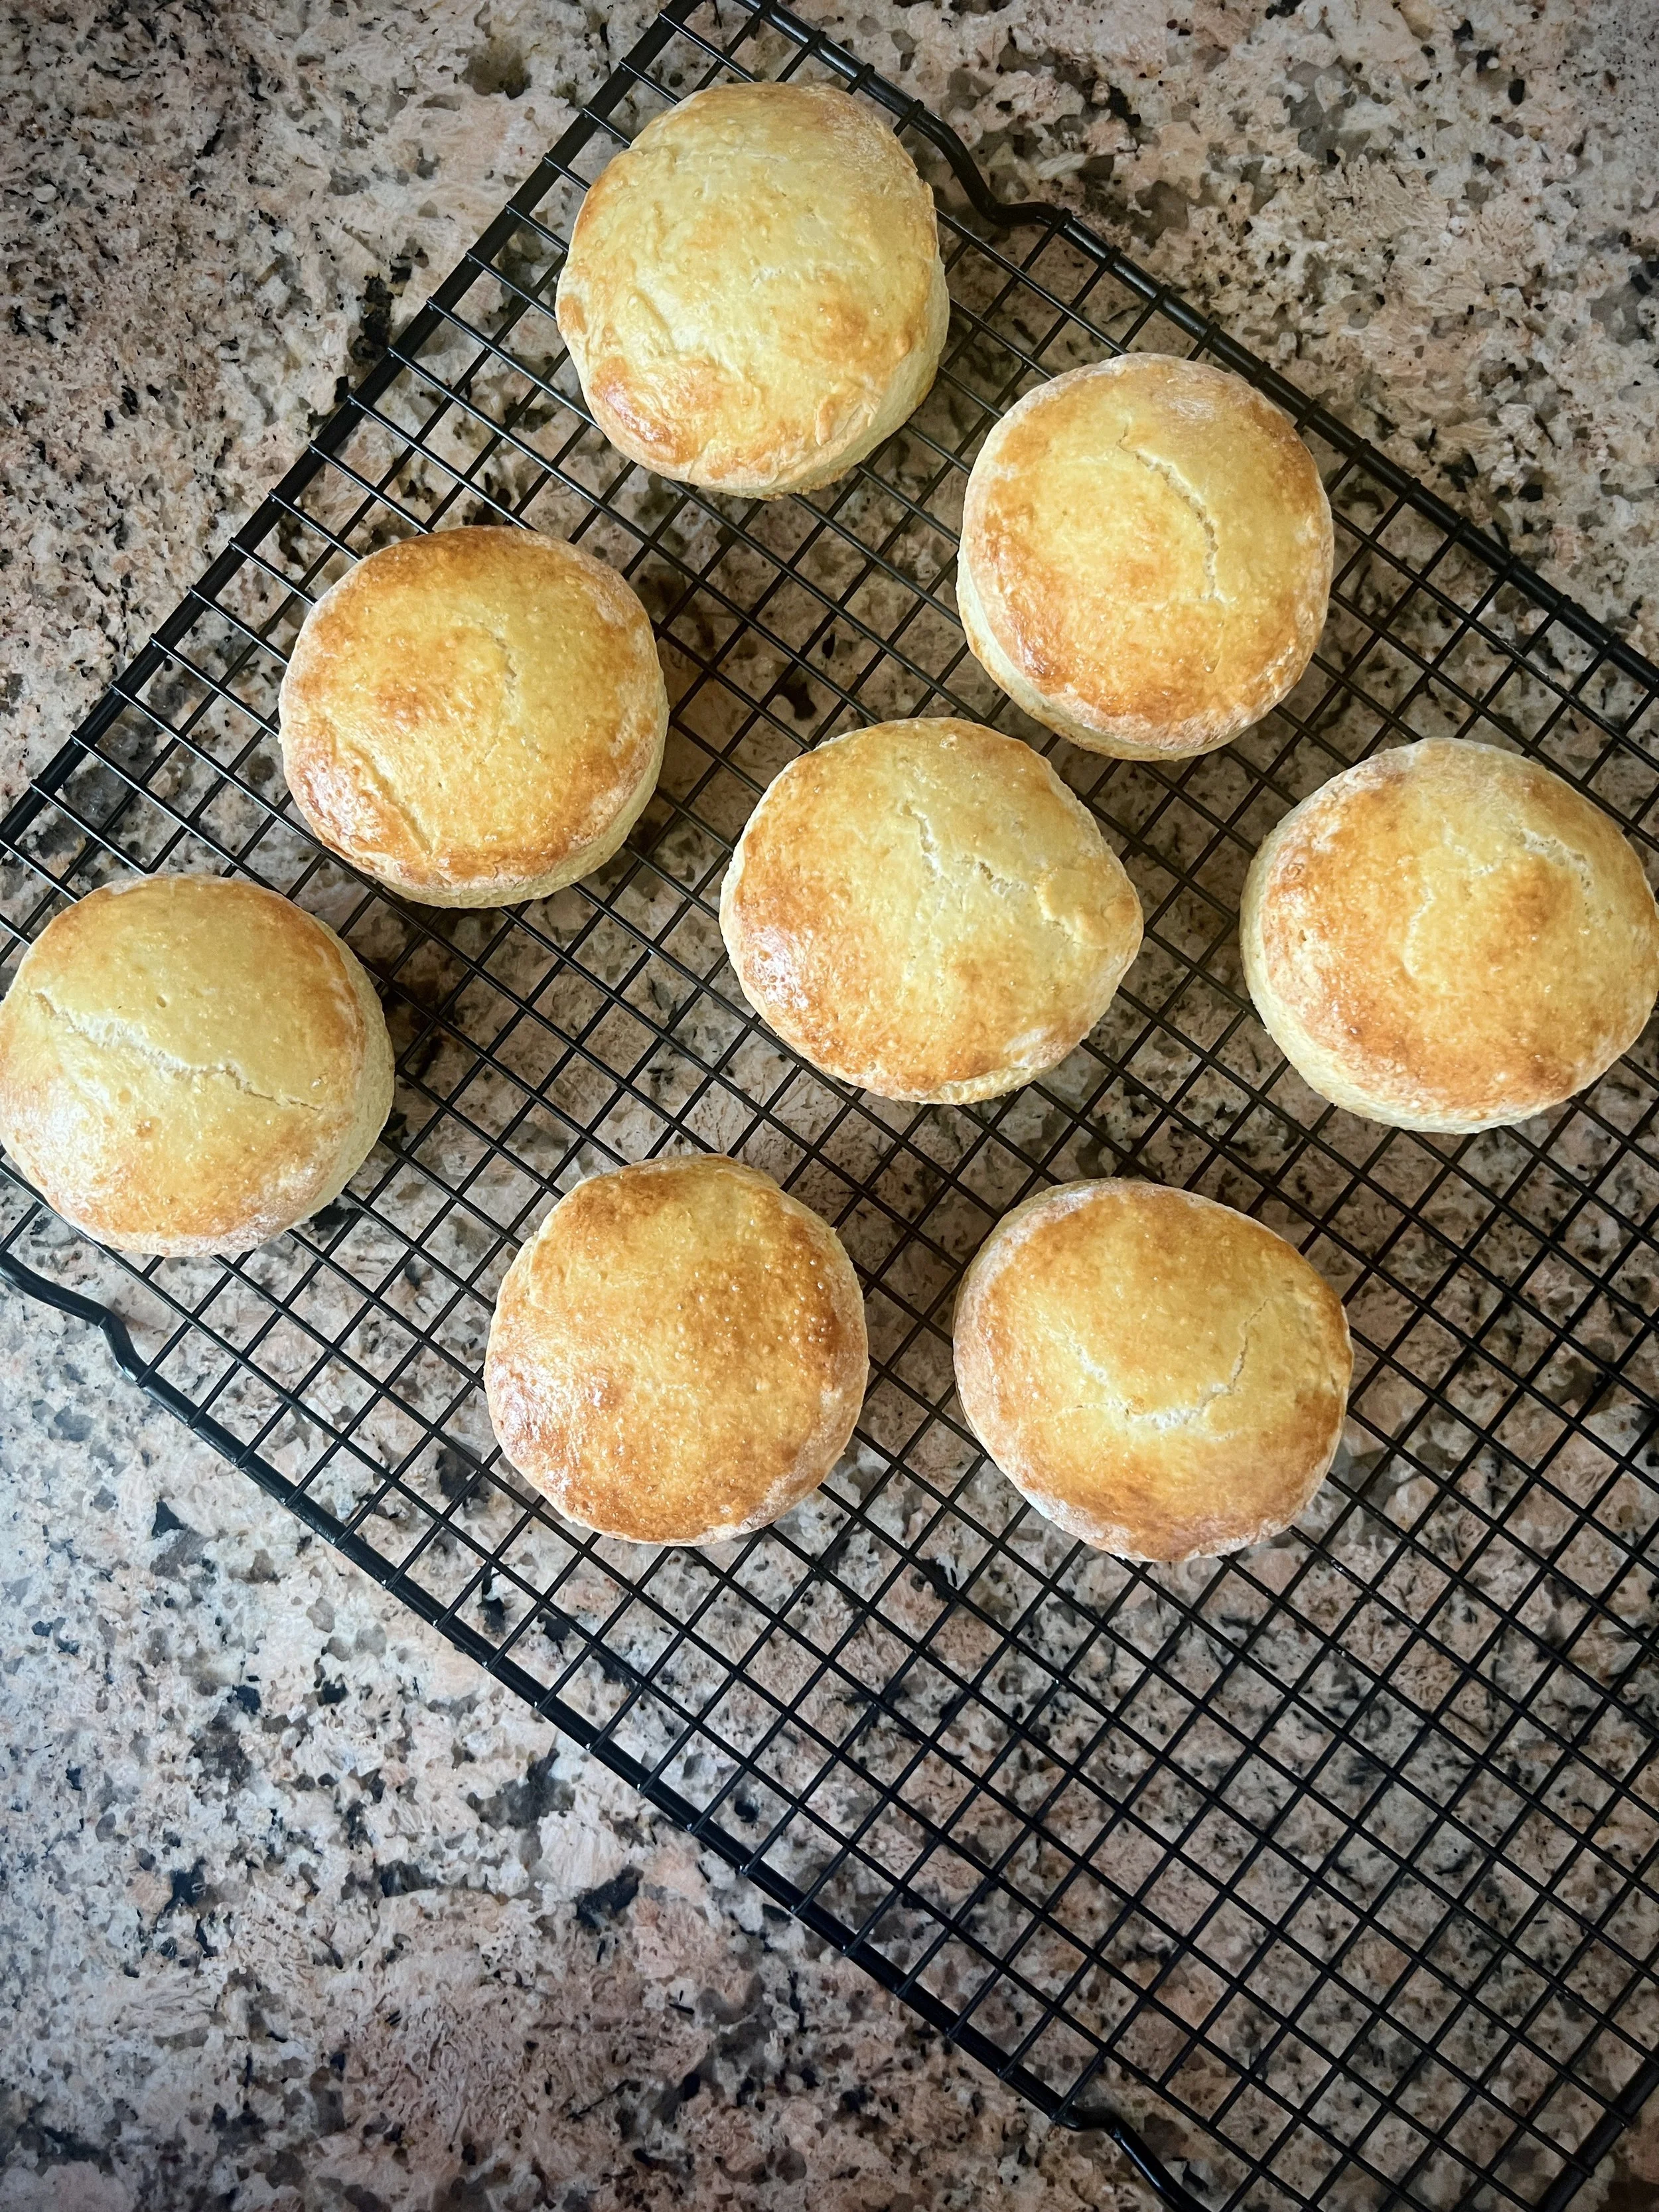
The scones smell incredible! They could be taller, I am not going to lie, we aren’t looking for any short king scones in this house. I made two batches, and the second batch was taller and had a nicer texture than the first, so maybe round three will get me the sky-high scones I am looking for. (Any scone under 6’4” need not apply.)
Now.
What are we going to put on these beautiful, perfectly fluffy British-style scones? But of course, clotted cream and jam🥰.
You can absolutely buy clotted cream, it’s around. I found some at my local grocery store, and it tasted okay. Not the full flavor explosion and creaminess that I got in the UK, but that is to be expected, I suppose.
Inspired by a friend who was inspired by me (the circle of inspiration, if you will), I decided that I should make my own clotted cream. A thought that hadn’t occurred to me until my friend did it. But if we can make butter, then we damn well can make clotted cream! What, like it’s hard?
It is actually simple. One ingredient plus 12 hours.
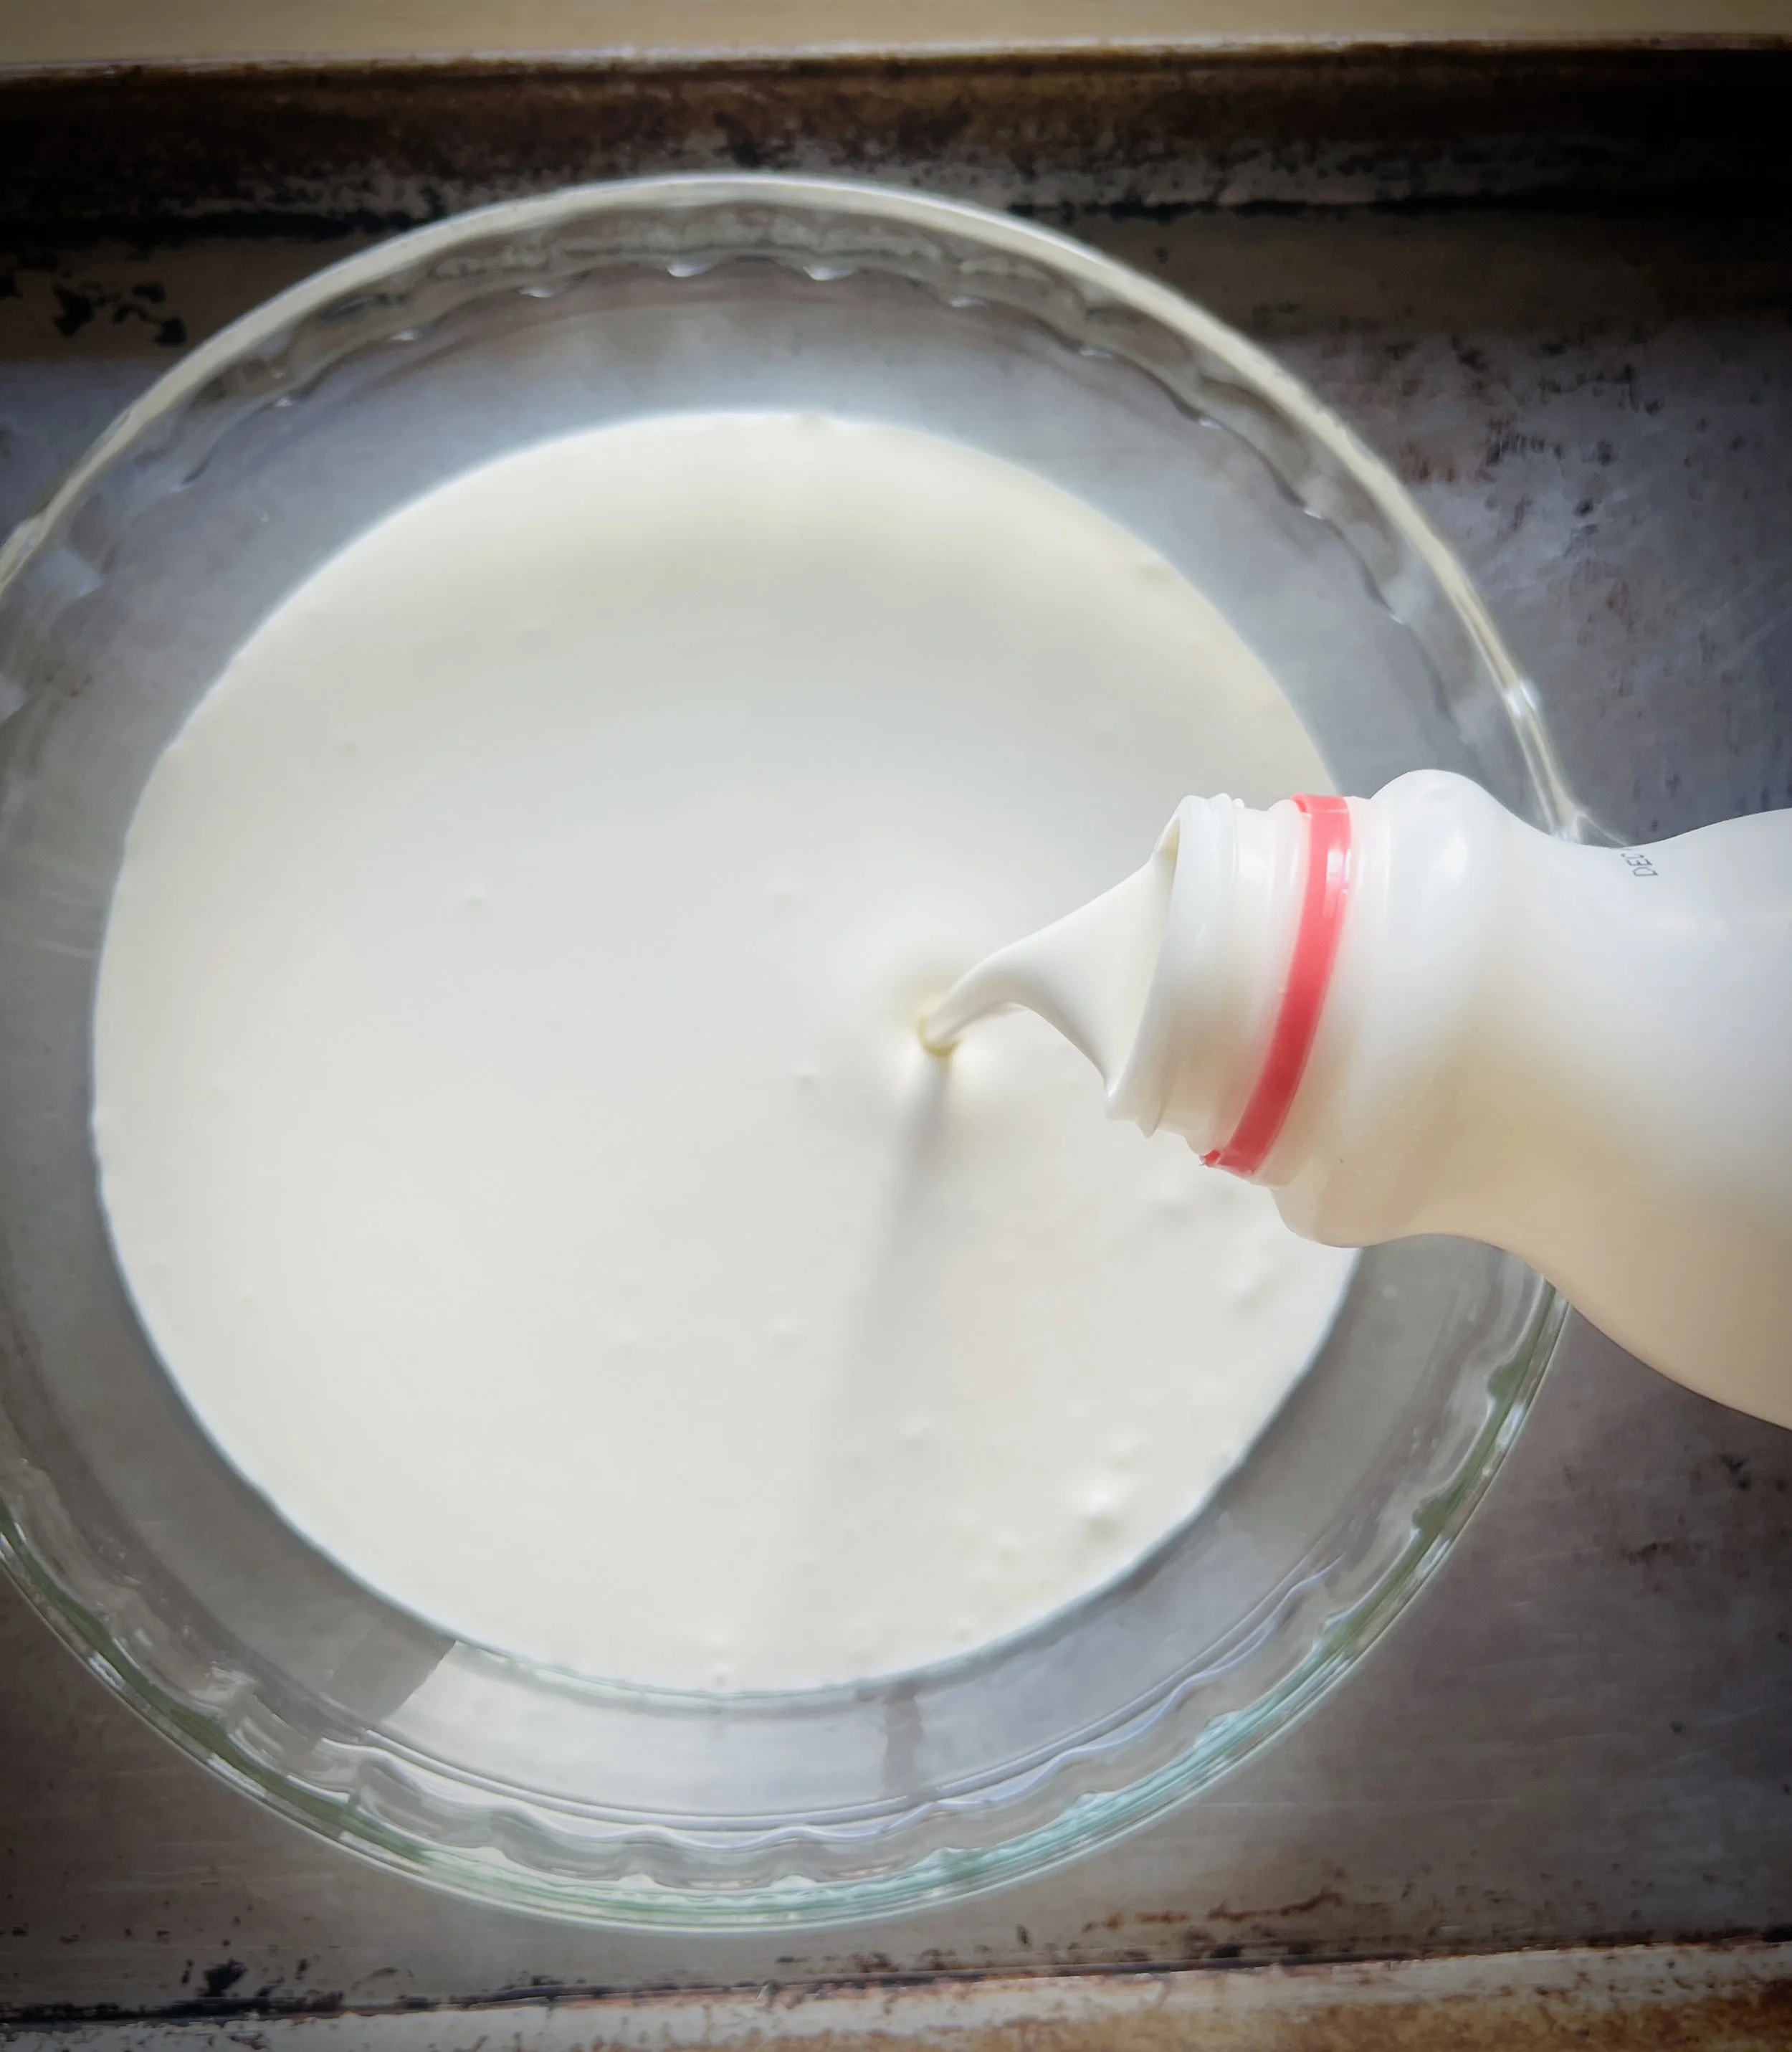
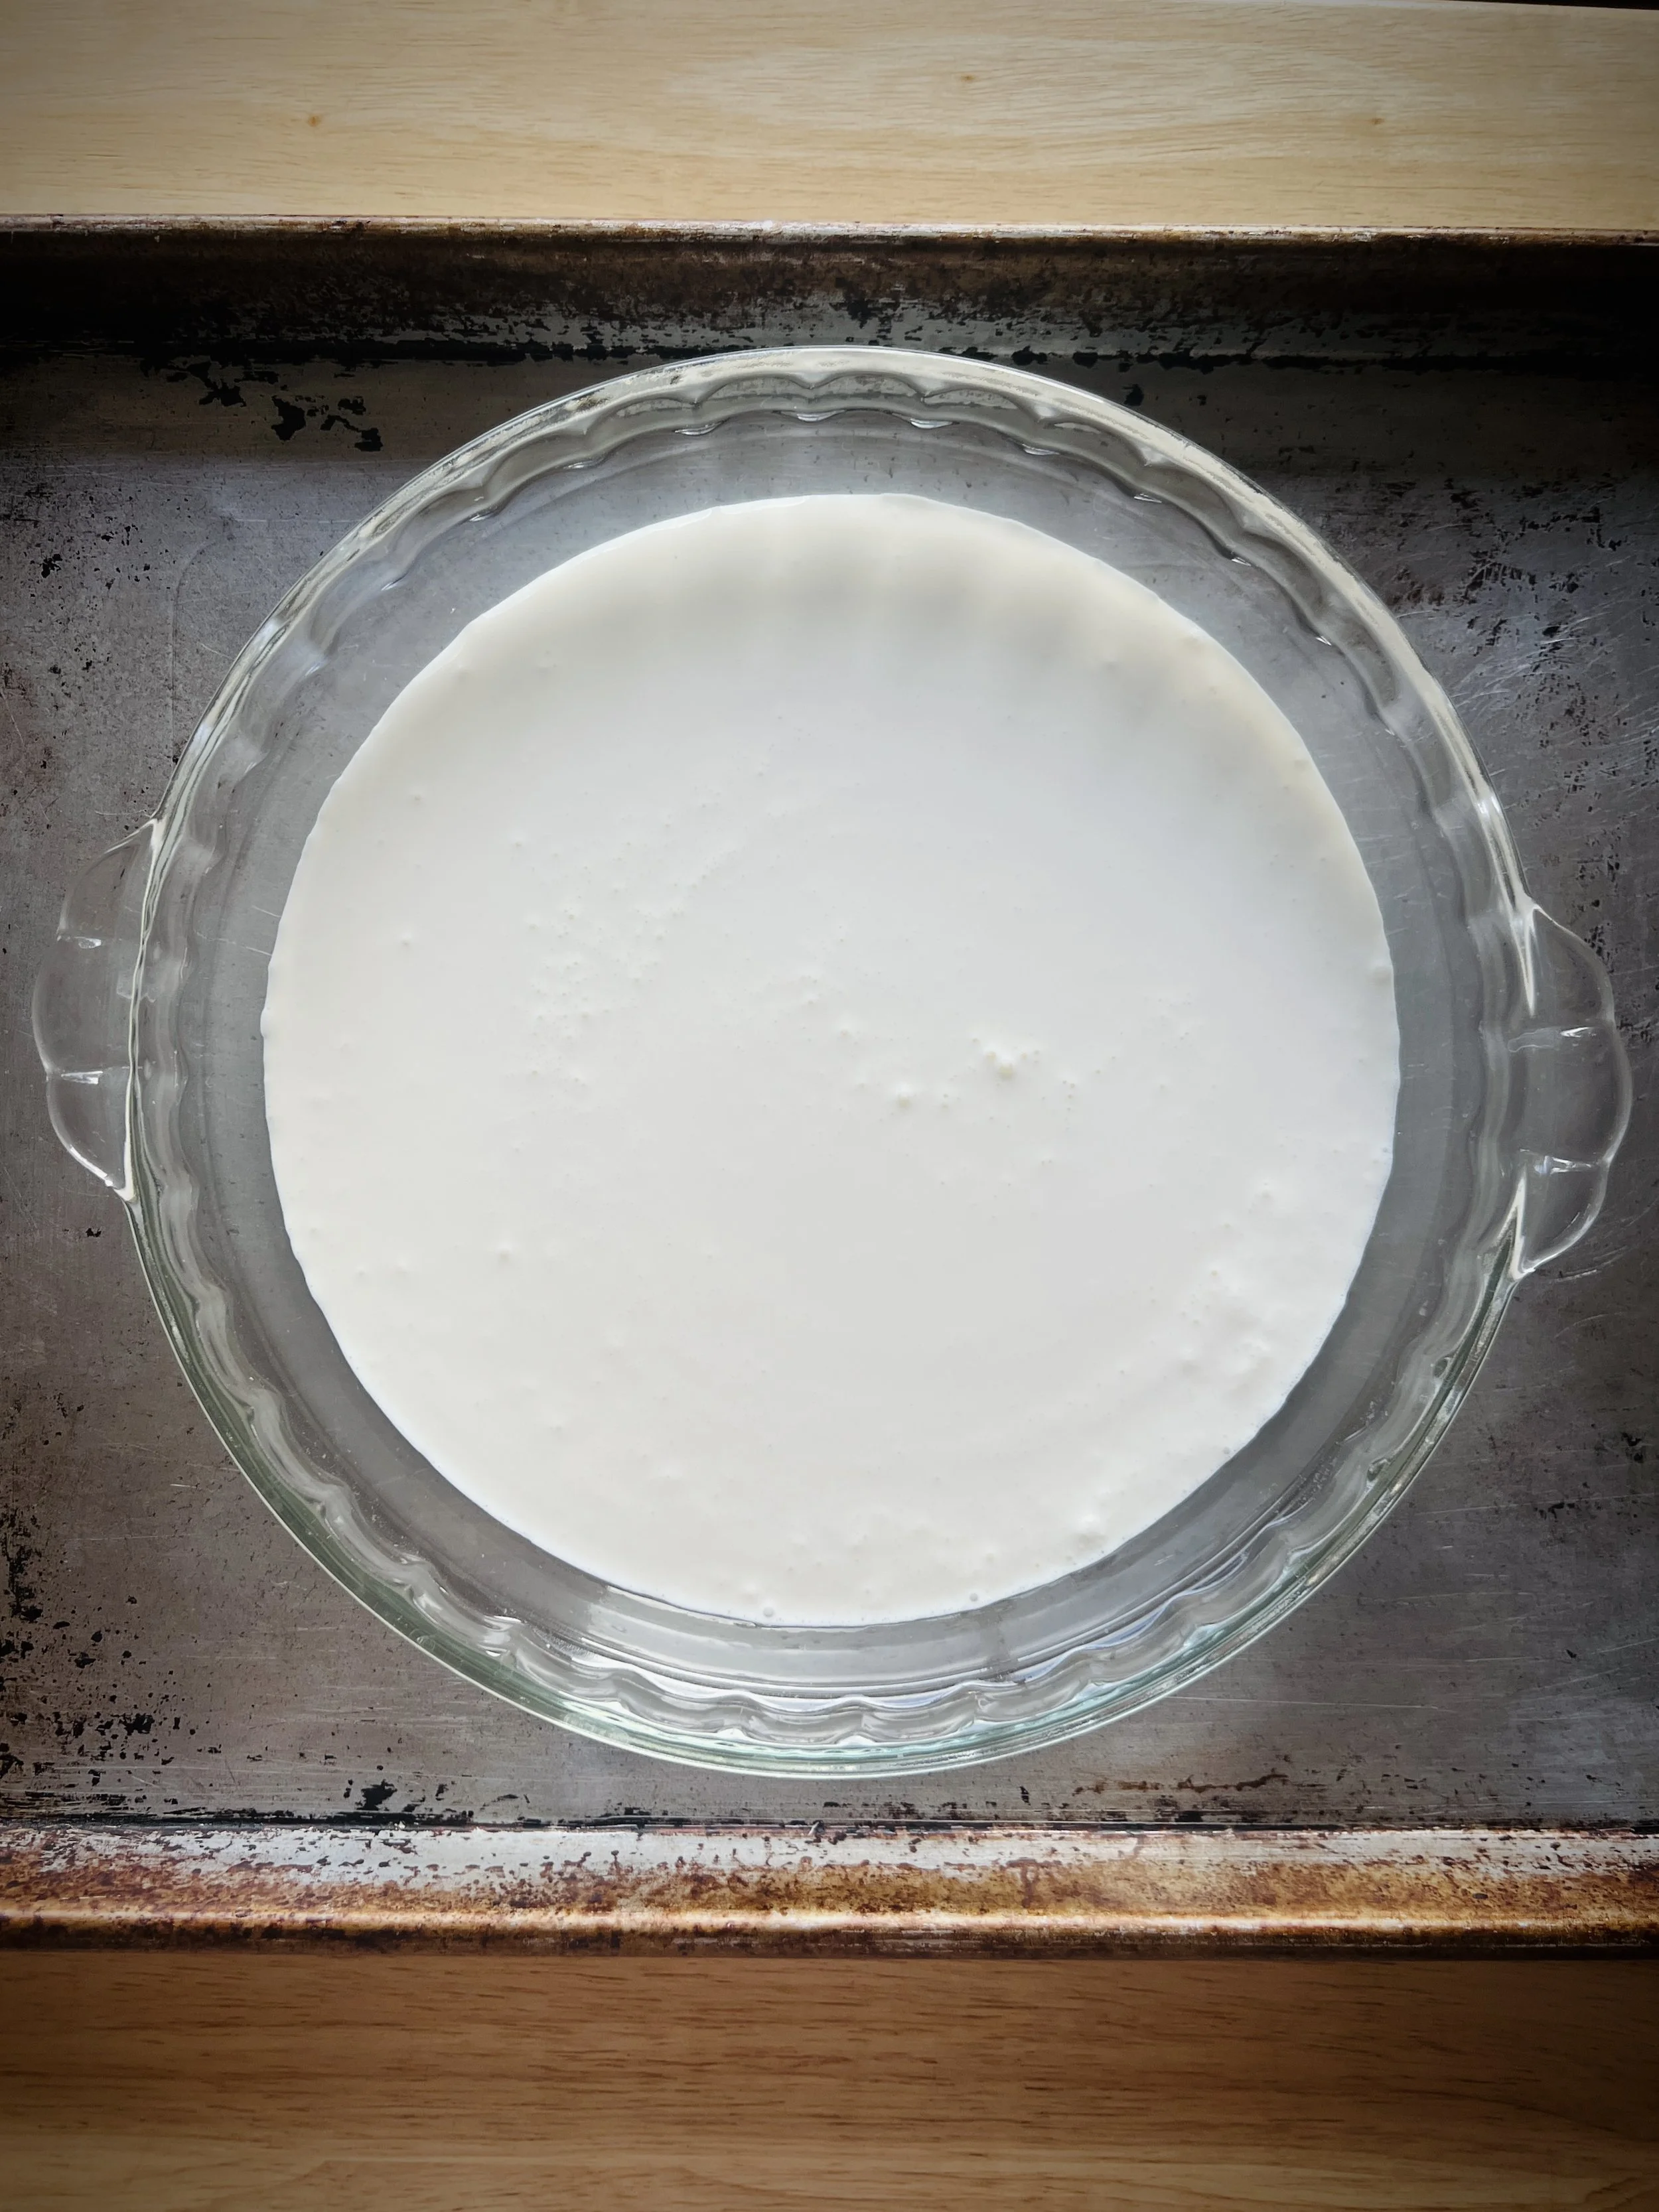
When a recipe is made up of only one ingredient, you NEED to make sure you get the best quality of that thing. We need heavy cream, so go and buy the best heavy cream you can find.
But before we begin this incredibly simple process of clotting our cream, what is clotted cream?
Clotted cream is a rich, luxurious, decadent, nutty, butter-meets-whipped cream situation. It is made by gently heating cream or milk low and slow until the cream separates and forms a thick layer on top, AKA a clot! This yellow-tinted clot is then skimmed from the top, and voila, clotted cream. It is slightly sweet and a little nutty and pairs perfectly with our freshly baked scones.
Let’s clot some cream, y’all.
There are two ways we can tackle the clotting of the cream.
Version one: Stove top
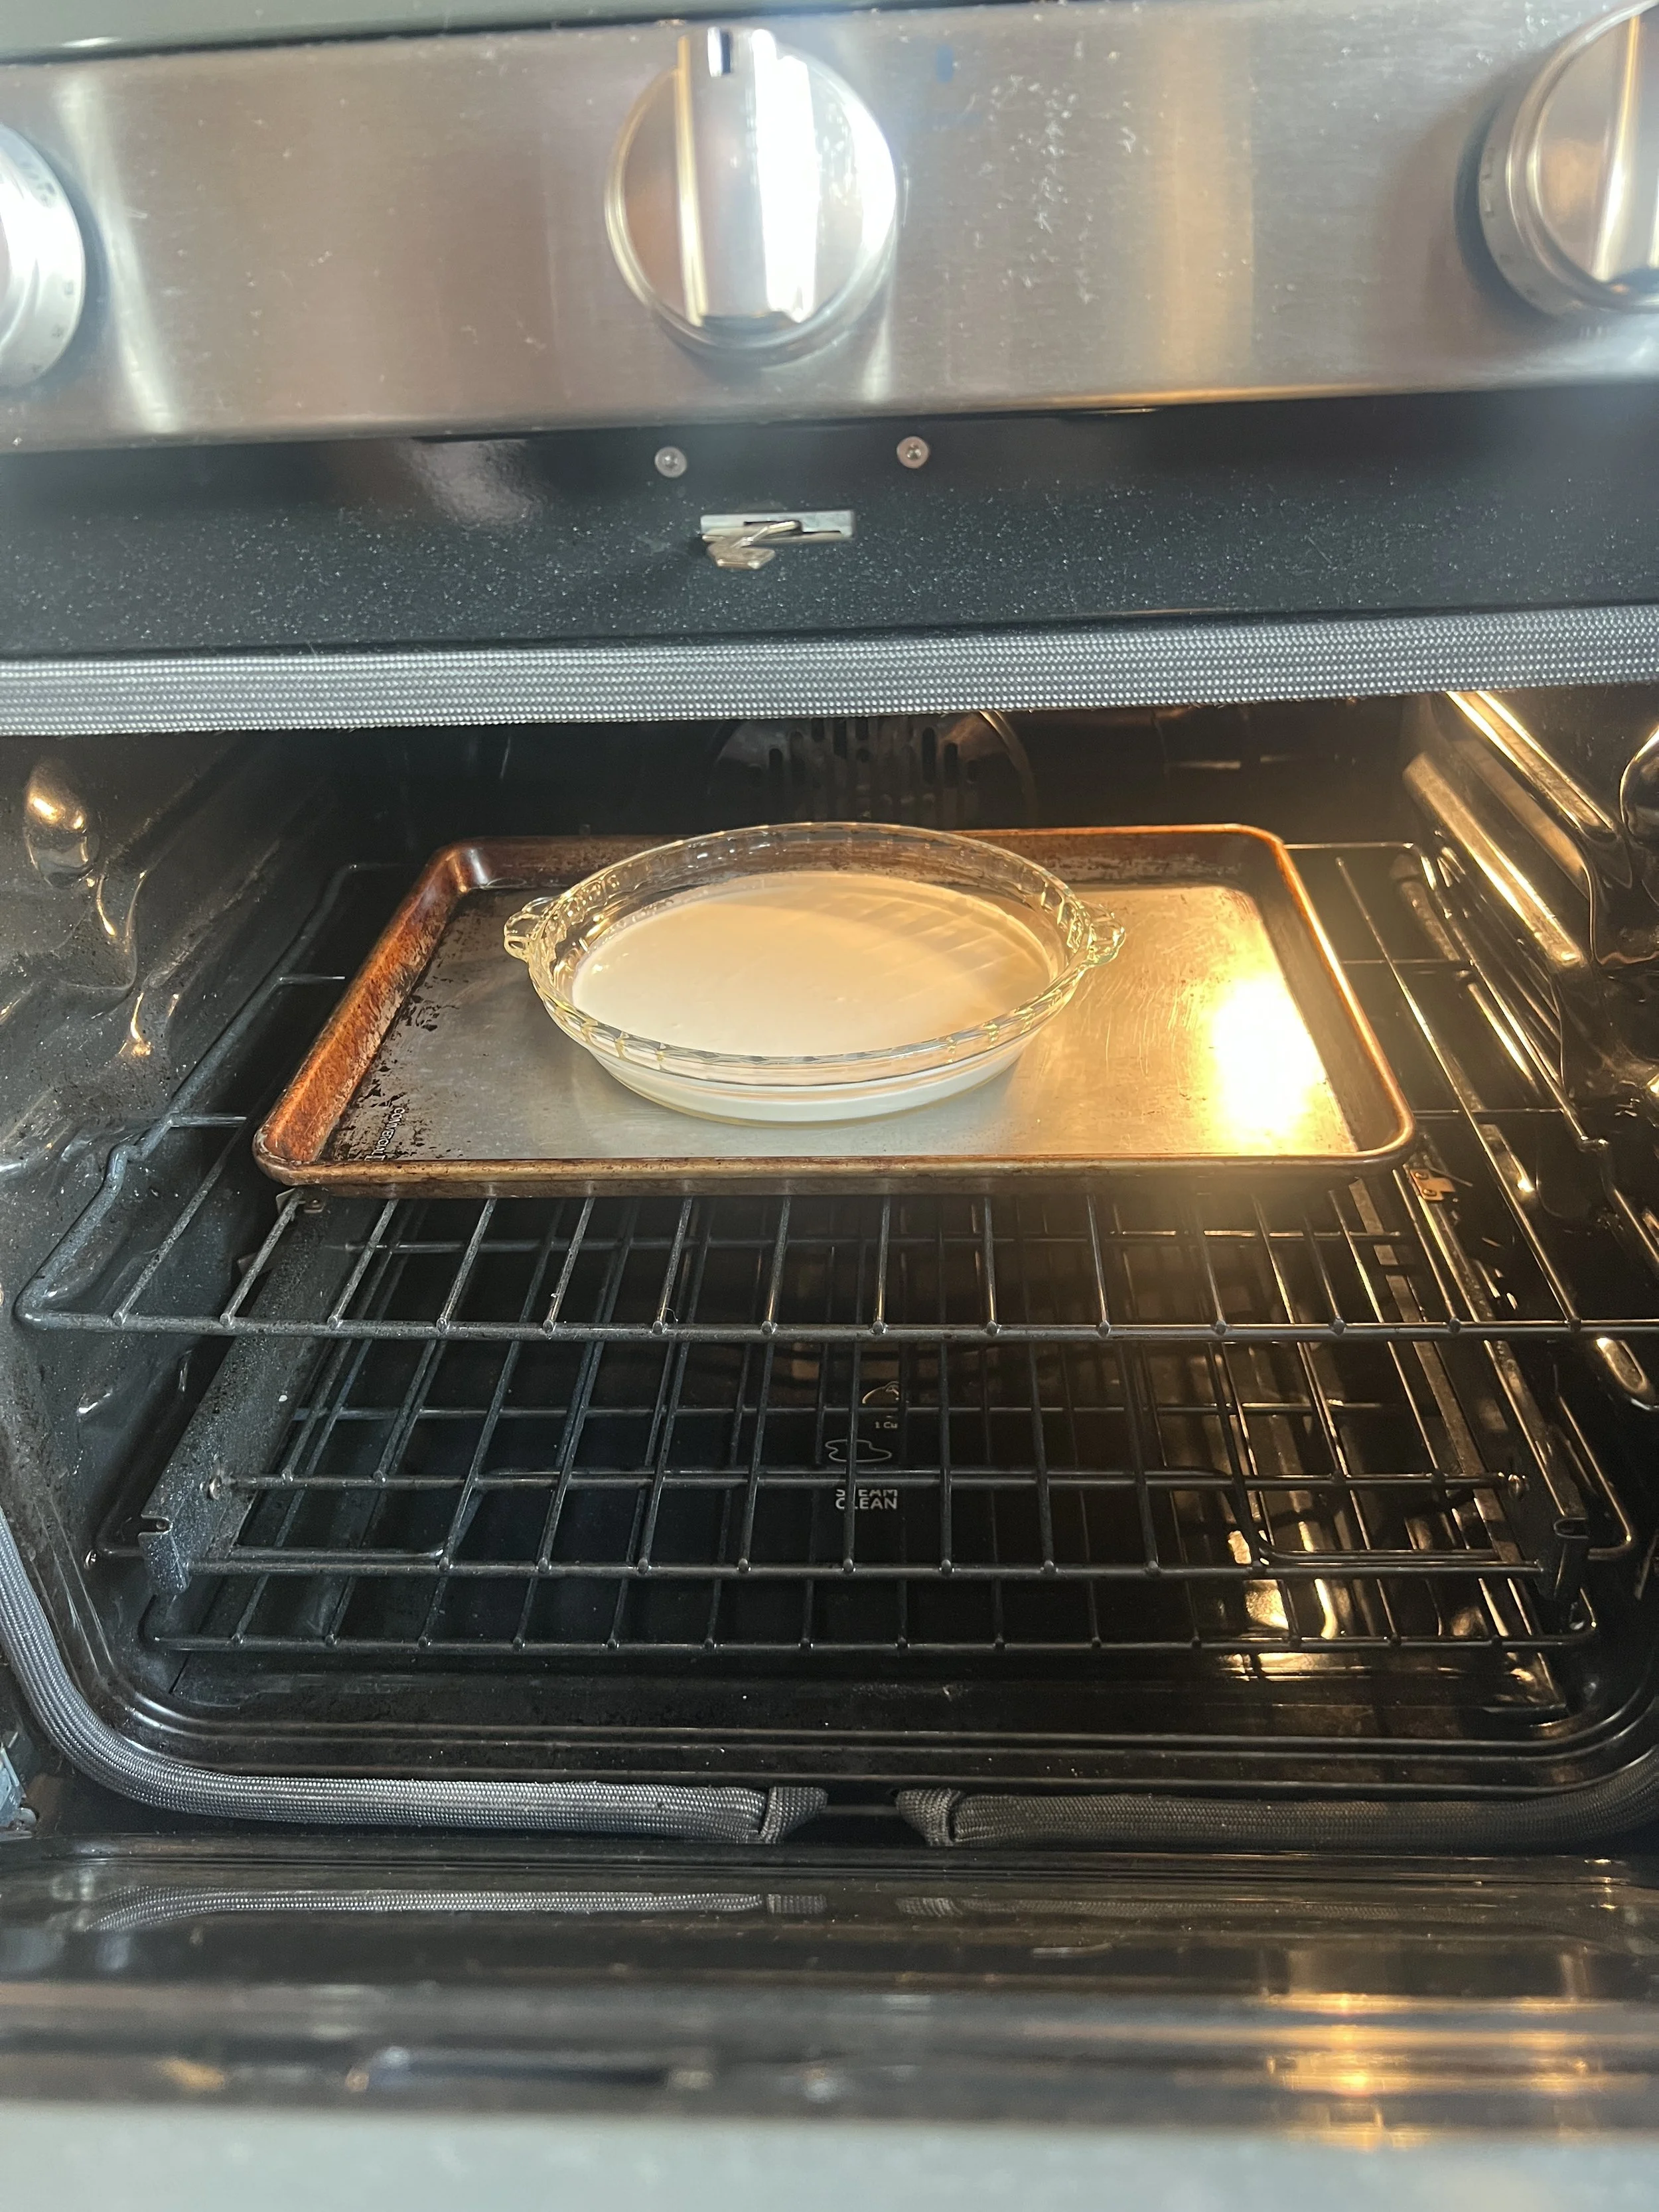
Version two: Oven
I went oven. It is a completely hands-off approach. All you have to do is put the cream in the oven and then wait for twelve hours. Yes. TWELVE HOURS. I could fly to the UK and pick up a fresh jar straight from the source faster than that. Faster, yes. Cost-effective, no.
A note on cream: The cream works best if it is NOT ultra-pasteurized. Something with the extreme pasteurization that affects the clotting of the cream. I found a grade A pasteurized cream, which translates to NOT ultra-pasteurized. MY interest in pasteurization is bleak, so we will leave it at that.
I set my oven timer for 6 hours. This way, I could check on it halfway through, and also, I was not sure if my oven had an auto-shut off time. At the 6-hour mark, I peeked in on the cream ever so gently just to see if it had morphed into flubber. It was fine. I then turned the oven off and then right back on with the new six-hour timer set. Auto shut off anxiety averted.
Pro-tip: Put your cream in the oven as late as possible in the evening. This way, when you wake up and get your coffee, you can check in on the cream, restart the oven if you have to, and only wait another handful of hours before it’s ready to pull from the oven. Thank you to my friend Francie for bringing this clotting cream timeline into perspective. It was the PERFECT plan.
I did not do this🤦♀️. My poor oven timing led to my oven being OCCUPIED for the entire day (I learned of the perfect plan AFTER I had started the cream). Lesson learned. See you in twelve hours.
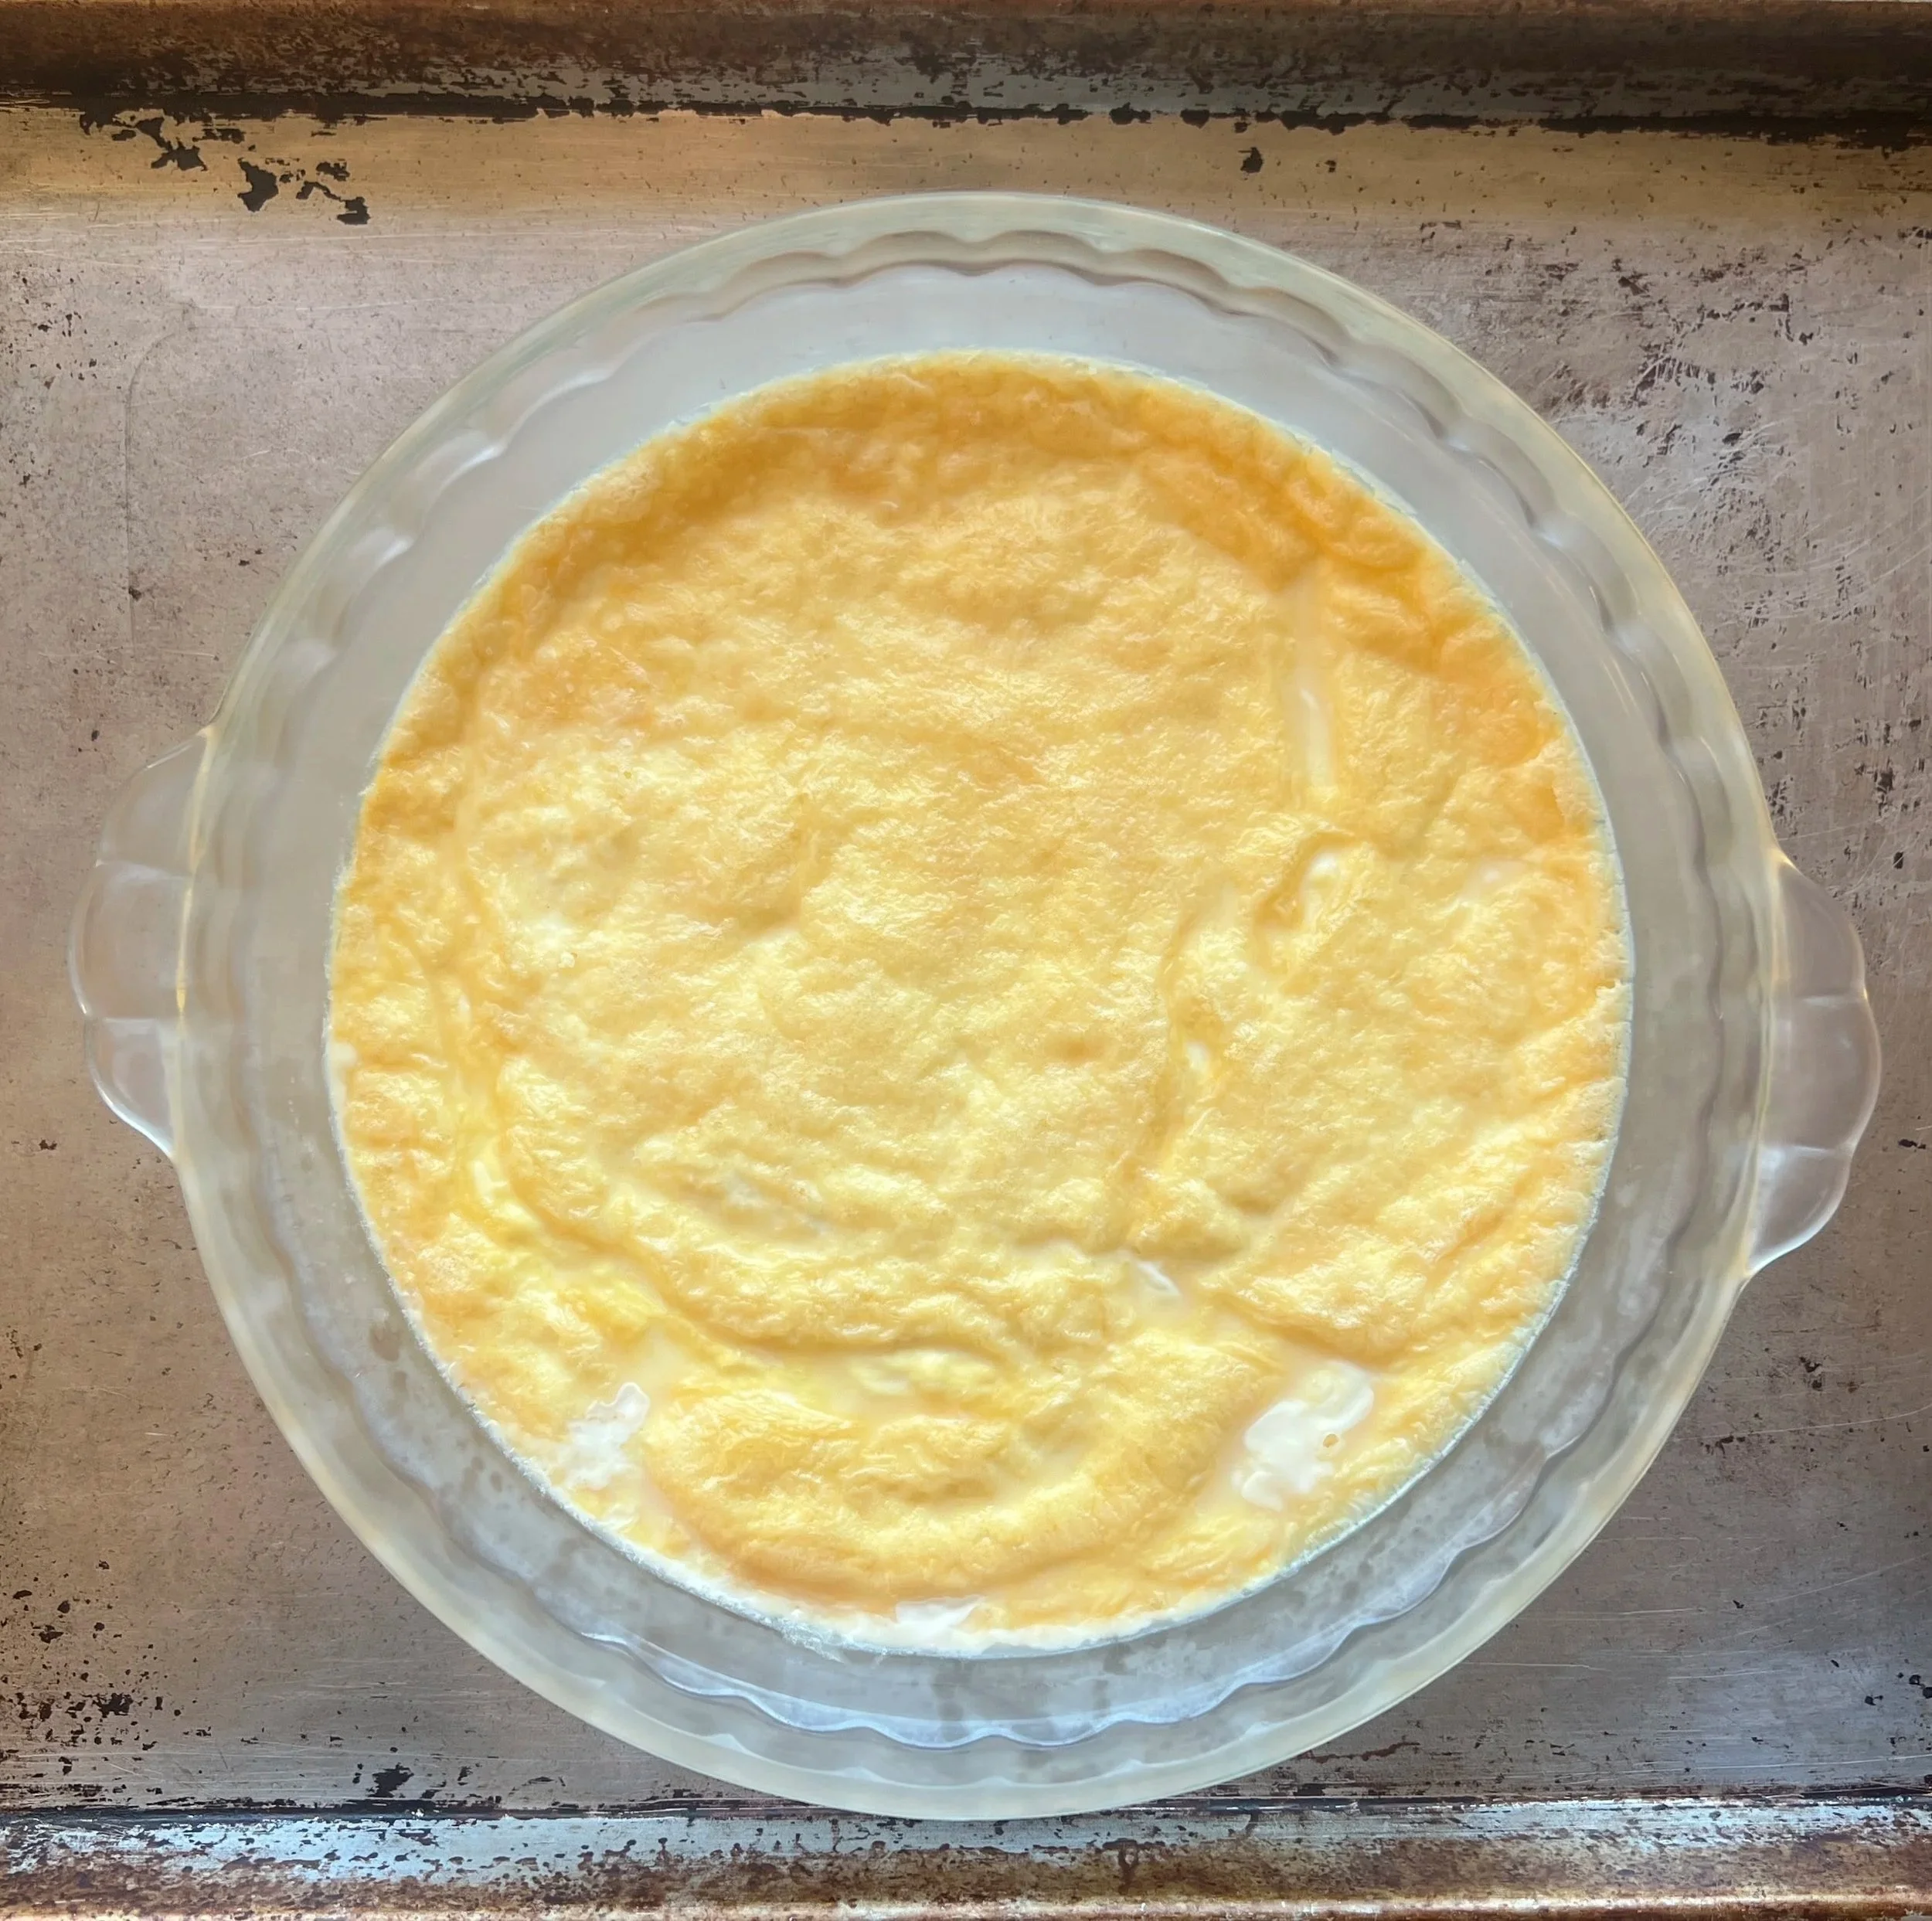
Twelve hours later.
The clotted cream♥️ In all her glory. Just ready to be spread on a freshly baked scone, topped with some raspberry jam. Oh, but first you have to let it cool in the fridge for an hour (aaaaaaah bashes head into fridge).
1 hour later (or overnight).
The clotted cream.

Wow—An appropriate reaction. It really transformed in there, not into flubber, but into a yellow-crusted vision.
It tastes like a nutty, lucious, buttery dream. Lightyears better than the bottle of clotted cream I found at the grocery store. I did satisfy my creamed tea fantasy, but it was not as good as the stuff I had in the UK. (To be expected, I suppose.)
Notice the changes between the initial cream and the final result. The color is very different, and the clots on the top were quite thick. I only had less than half a cup of whey (liquid) remaining in the pan.
Pro-tip: I used the leftover whey from making the clotted cream in my scone recipe. I hate waste.
NOW. The actual moment we have all been waiting for. A proper cream tea (coffee for me).
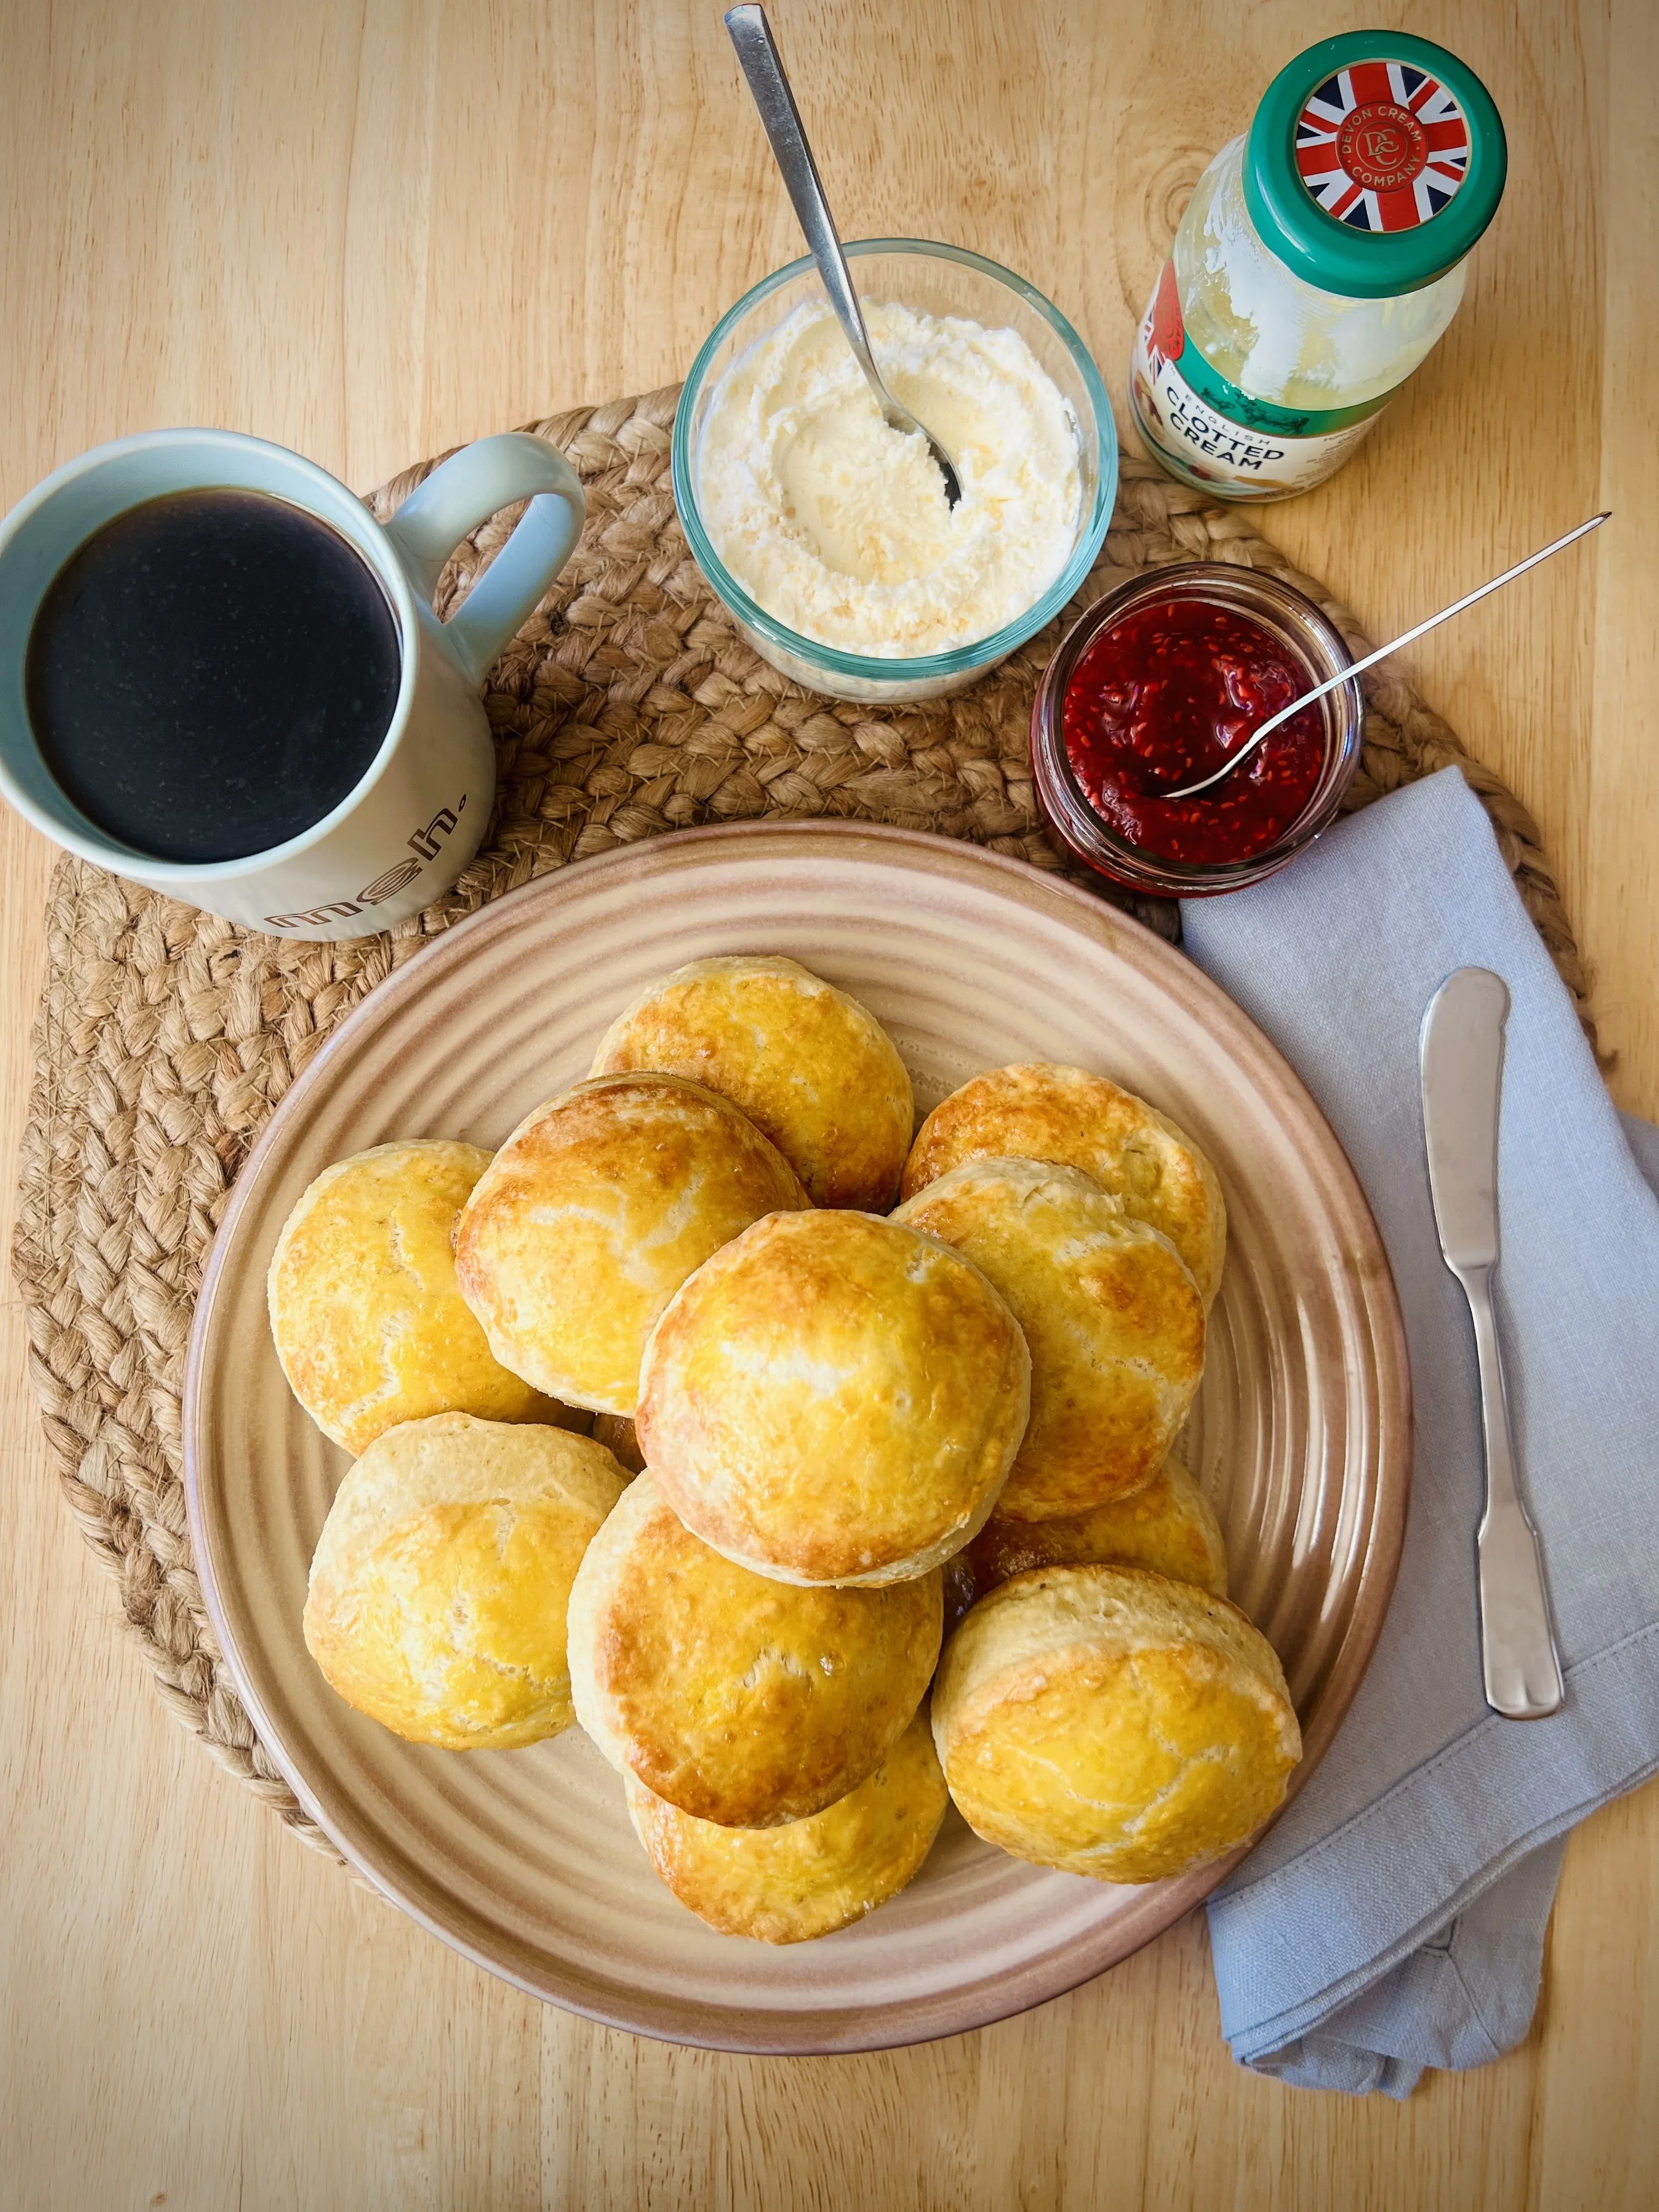
I AM OBSESSED, but we knew that already, didn’t we? I recommend you make the scones AND the clotted cream, you can buy the jam if you want (my mom made this raspberry jam♥️). The clotted cream IS worth it, just strategize your timing so you don’t commandeer your oven for an entire day, and buy the best cream you can find for the clotted cream.
Look at that😍
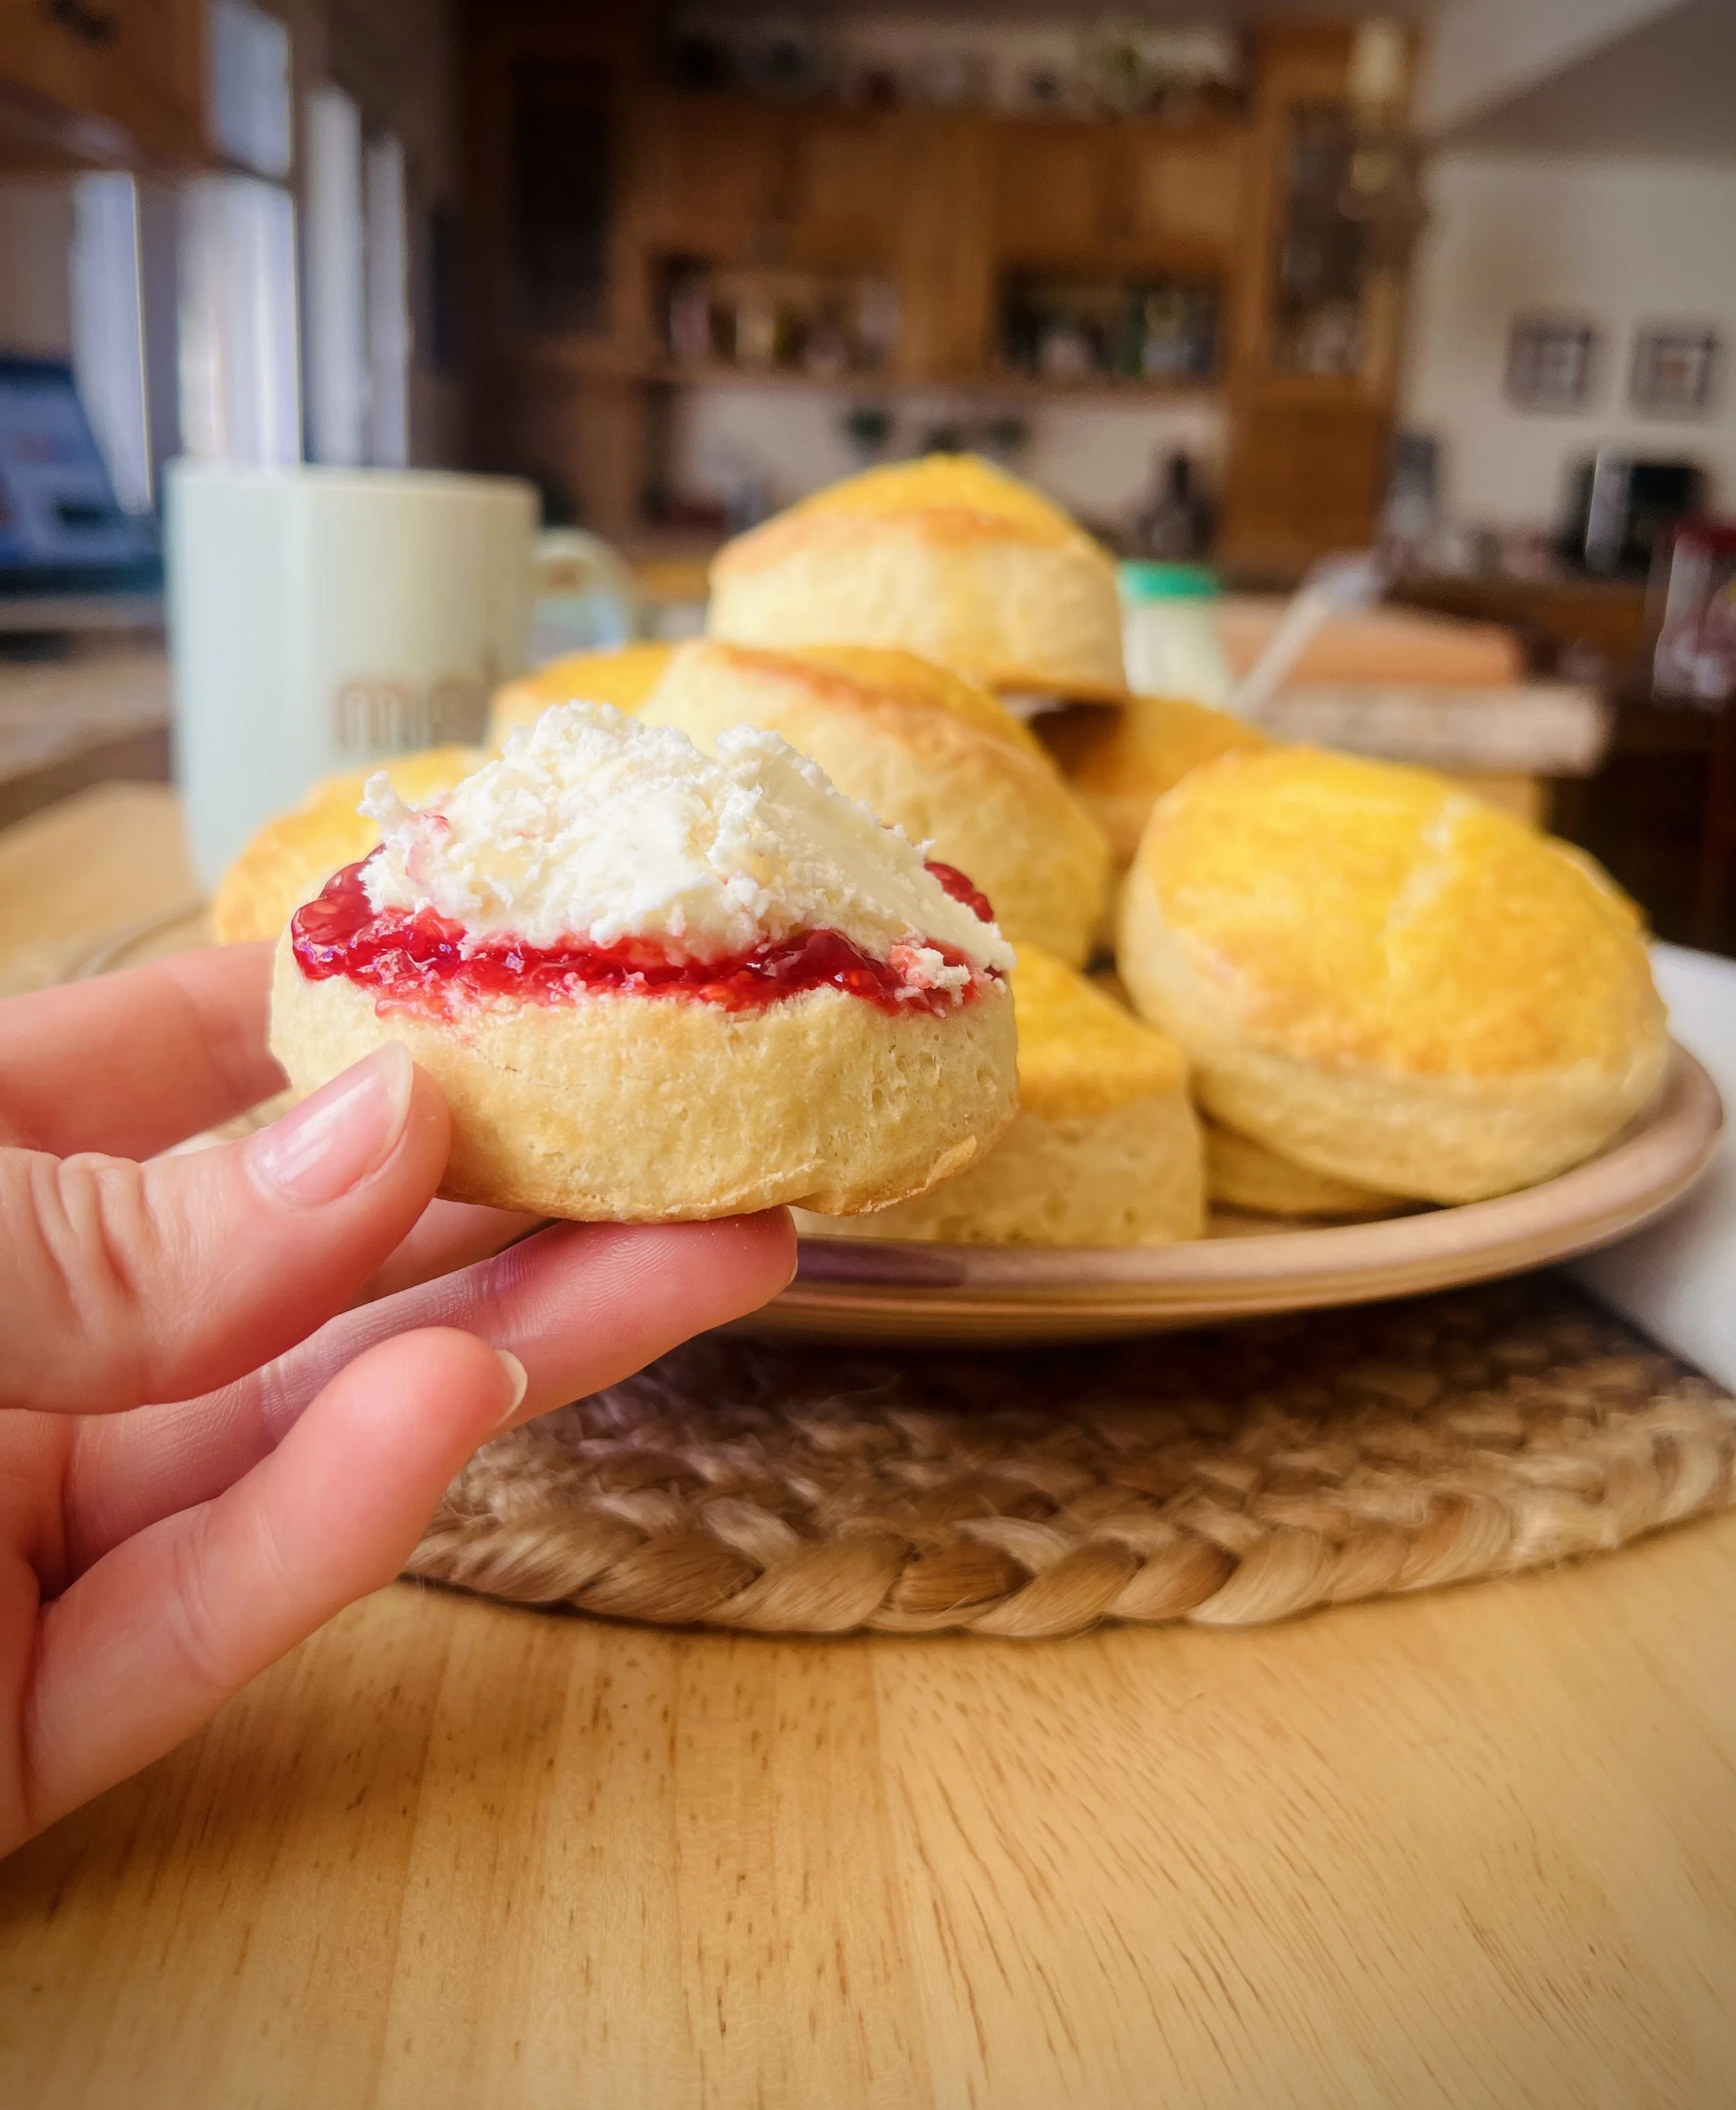
This is the appropriate ratio of biscuit to jam to cream. Do not hold back when creaming your scone!
It’s the perfect season to try your hand at baking some British scones and clotting your own cream. You should do it now because in a couple of weeks, all your best-laid New Year’s resolutions will be sans baked goods 🙄. (You know it’s true.) And on top of that, I will be making and talking about liver and onions! (But actually.) That liver in my freezer is just begging for some airtime. If your plan in the New Year involves organs, PLEASE let me know🫀.
Cheers,
Nicole | Butter Cult
I referenced/used this recipe for the scones. Thank you, Paul Hollywood.